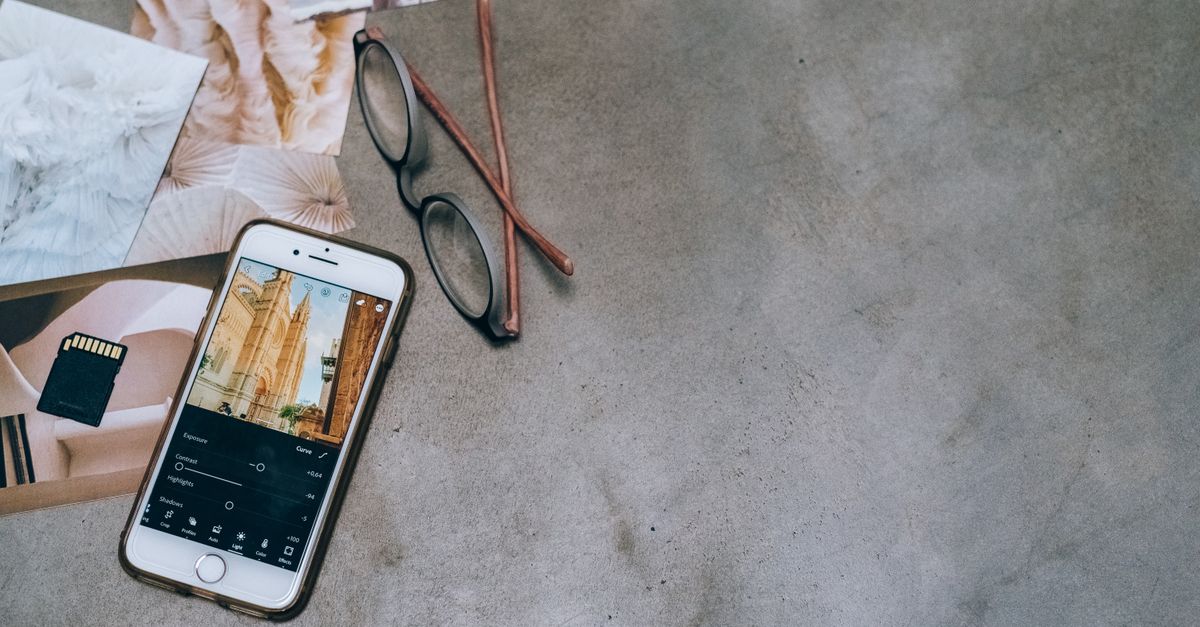
If a phone photo looks too bright, start by checking whether the highlights are merely bright or truly clipped. The safest first edit is usually to lower highlights, then exposure if needed, because that gives you the best chance of recovering detail without flattening the whole image. If the sky, face, or white clothing is already pure white with no texture left, you may only be able to improve the photo, not fully restore it.
Is it really overexposed, washed out, or clipped?
Use the photo itself, not how it looks on your screen at full brightness, to judge the problem. A photo can be bright and still be usable; overexposure is the point where bright areas stop holding detail.
| What you see | What it usually means |
|---|---|
| Bright, but texture is still visible | Likely recoverable |
| Pale skin with pores or shading still visible | Bright, not fully blown |
| White patches with no texture or edge detail | Clipped highlights |
| Colors look weak and the whole photo feels thin | Washed out, often from a heavy edit or bright light |
| Whole photo turns gray or muddy after edits | The fix went too far |
A quick rule I use: if you can still tell where the folds, hair, clouds, or fabric texture are, there’s something to rescue. If those details are gone and the area looks like a flat white shape, that part is clipped.
Before you start
Make a copy or duplicate the photo before you edit if your app doesn’t keep a reversible edit history. On many phones, built-in Photos apps save edits non-destructively, but not every app behaves the same way.
The safest first check is simple:
- Zoom in on the bright area.
- Compare the photo at normal screen brightness and at a dimmer setting.
- Look for texture, not just shape.
If the photo still shows detail in the bright parts, keep going. If the main subject is already blown out and the image depends on that detail, stopping and reshooting is often the better move.
Can this photo be fixed, or is reshooting better?
A quick rescue makes sense when the blown area is only part of the frame, like a bright sky behind a person or a shiny shirt in an otherwise usable shot. A reshoot is the better fix when the overexposure is on the subject itself and you need detail that isn’t there anymore.
Stop and reshoot instead of editing if:
- The subject’s face is clipped, not just the background.
- The sky is fine, but the subject is so bright that facial detail is gone.
- The photo depends on detail in the blown area, like text on a label or texture in white clothing.
- Your first edit makes the rest of the picture look dull before the bright area is actually under control.
If you only need a cleaner version for sharing, a partial fix is often enough. If you need the blown area to look natural at larger size, editing may not get you there.
The safest edit order to try first
Start with the control that affects the bright area most directly. In most phone apps, that means highlights first, then exposure, and only then brightness or contrast if the photo still needs help.
Use this order:
- Lower
highlightsa little. - If the bright area still feels harsh, lower
exposureslightly. - If the whole image now feels too soft, add a small amount of
contrast. - Use
brightnessonly if the entire photo still looks too light after the first two steps.
If your app has a whites slider, try it before brightness. Whites is often better for clouds, white shirts, reflections, and other bright surfaces because it targets the brightest tones more directly.
A common mistake is to start with brightness. That darkens the whole image before the blown highlights are under control, which can leave the photo looking flat. Another mistake is to push contrast early, which can make shadows too heavy and the image feel harsh.
How to fix it in your phone’s Photos app
Open the photo, go to Edit, and look for the light controls first. The exact names vary by phone and app, but the sequence is usually the same: pull down highlights, then trim exposure if needed, and leave brightness and contrast for last.
- Open the photo in your built-in Photos app.
- Tap Edit.
- Find the light or adjustment controls.
- Move
highlightsdown in small steps. - If the bright areas still look blown out, lower
exposurea little. - If the photo now looks too flat, add a small amount of
contrast. - Only use
brightnessif the whole photo still feels too light. - Save a copy if your app asks whether to overwrite the original.
If your app offers auto-adjust, I’d treat it as a draft, not the final answer. Auto can help you find a starting point, but on faces and mixed lighting it often pulls the image in the wrong direction.
If only the sky, face, or white clothes are blown out
A global edit changes the whole photo, so it can fix one problem and create another. That matters most in backlit shots, where the sky may be blown out but the person is still worth saving.
If only the sky is too bright, lower highlights carefully and stop as soon as the clouds or color start to come back. If your app has a local adjustment or mask, darken only the sky and leave the subject alone.
If the face is blown out, use the smallest possible exposure change first. Then check skin tone on the screen at normal brightness. If the face starts to look gray before the rest of the photo improves, back off. You may not get all the detail back, and that’s normal when the highlights are fully clipped.
If white clothes are blown out, aim for texture rather than a dark shirt. Pulling the whites down too far is how a clean white dress or shirt starts looking dirty or gray. The goal is to see folds, seams, or fabric texture again, not to turn the clothing dark.
How to know when you’ve gone too far
You’ve probably gone too far when the photo stops looking bright and starts looking lifeless. The common signs are gray skin, muddy shadows, weak color, and a flat look that feels worse than the original problem.
Watch for these cues:
- Skin turns ashen instead of natural.
- The photo looks darker, but not better.
- Shadows lose shape and become murky.
- The image looks corrected rather than like a normal photo.
A good stop point is when the bright area has some texture back and the rest of the frame still looks believable. If you can’t get both at once, keep the photo a little bright rather than crushing the whole image into a gray version of itself.
Will RAW or HEIC give you more room to recover detail?
Usually, yes. RAW files generally leave more room for highlight recovery than JPEG, and HEIC can sometimes preserve more highlight information than a standard JPEG, depending on how the photo was captured and what app you use.
That said, the file type doesn’t change the basic limit: truly clipped highlights are still clipped. A good RAW or HEIC file may let you pull back more texture before the image falls apart, while JPEGs usually show banding, blotchiness, or color damage sooner when you push them hard.
If you shoot in difficult light often, check your phone’s current camera settings and current app support for RAW or HEIC before relying on them. Support can change over time, so the phone’s own documentation is the source to check.
When editing won’t help and you should reshoot
If the bright area is the reason the photo matters, reshooting is often the cleaner answer. That’s especially true for portraits, white clothing, product shots, or any image where the blown area carries important detail.
Reshoot if you can and use a lower exposure setting, a different angle, or less direct light. If the phone gives you exposure compensation, pull it down before taking the next shot. If not, tap the bright area and lower the exposure slider before you press the shutter.
A quick test shot is useful before the real one. Check the bright areas on the screen, then look again with the screen at a normal brightness level. A screen that’s too bright can hide overexposure, and a very dim screen can make a recoverable photo look worse than it is.
Verify the fix worked
After editing, check the photo in two places: on your phone at normal brightness and, if you can, on another screen that’s a little brighter. You’re looking for the same thing in both places: the bright area should have some texture, and the rest of the image should still look natural.
A good fix usually means:
- The highlight no longer looks like a flat white blob.
- Skin still looks like skin.
- The photo still has contrast and shape.
- The image doesn’t turn gray when you compare it on a different screen.
If the edit looks fine on your phone but the bright area still clips on a brighter display, back off and try a smaller adjustment. If the photo only works on your own screen, it’s probably still too close to the edge.
Conclusion
If the photo still matters and the highlight detail is gone, reshoot it with less exposure. If there’s still texture left, a small highlights adjustment is usually the safest place to stop and save it.
Frequently Asked Questions
Should I use brightness or exposure first?
Start with `highlights` if you have it, then `exposure`. `Brightness` changes the whole photo more broadly, so it’s usually a later step. If the image still feels too bright after you’ve handled the highlights, use a small exposure change before you reach for brightness.
Why does my photo look gray after I fix the highlights?
You probably lowered exposure or brightness too far, or you pushed contrast in a way that flattened the image. Back up one step and bring some midtone life back. The goal is recoverable detail, not a dark gray version of the same picture.
Can I fix a blown sky without darkening the person in front?
Sometimes, yes, if your app supports a local adjustment or mask. Darken only the sky and leave the subject alone. If your built-in editor doesn’t have local tools, use the global sliders gently and accept a partial fix.